
How to install A-Town Cage!!!

Thread Starter
Registered User

Joined: Oct 2009
Posts: 171
From: Hi/OR--808/541

How to install A-Town Cage!!!
You should have these parts and tools!!
Parts:
-2 rods 1 round and 1 square (both w/ nuts and washers)
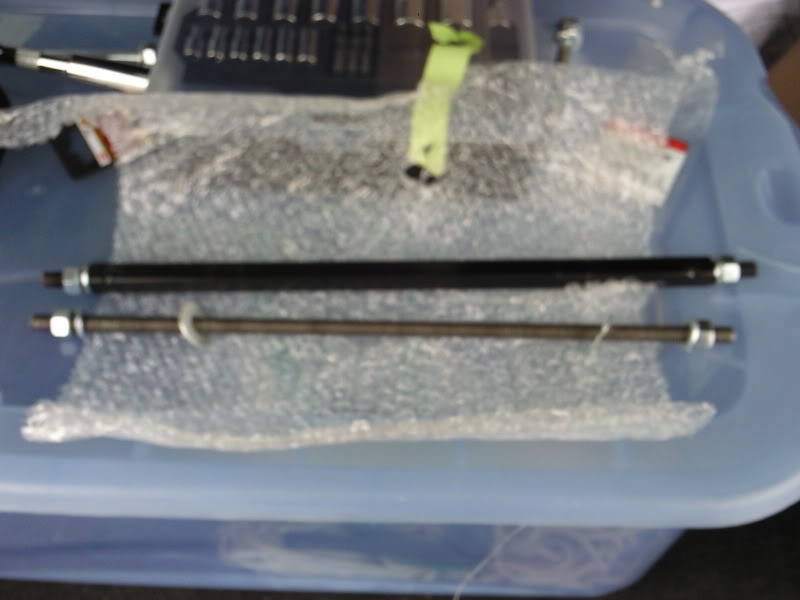
-2 sliders
-2 cages
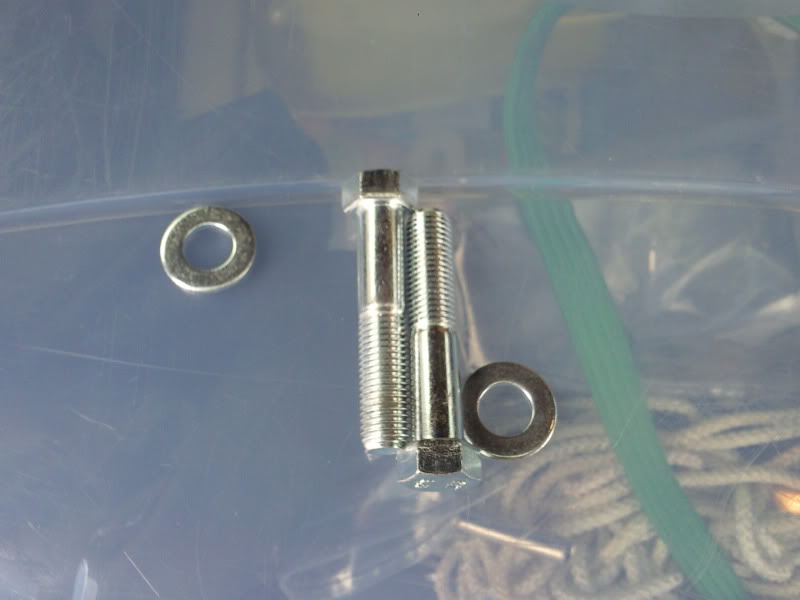
-2 bolts (the ones you get with box are like 5", the ones in the pics are 3" used on right side, i also used a 4" bolt on the left side)
Tools:
-ratchet w/sockets
-extender for ratchet at least 6"
-allen wrenches
1) Take off the right side fairing, the left side does not need to be removed
2) Take out the bolt (right side)
3) Take out the bolt (left side)
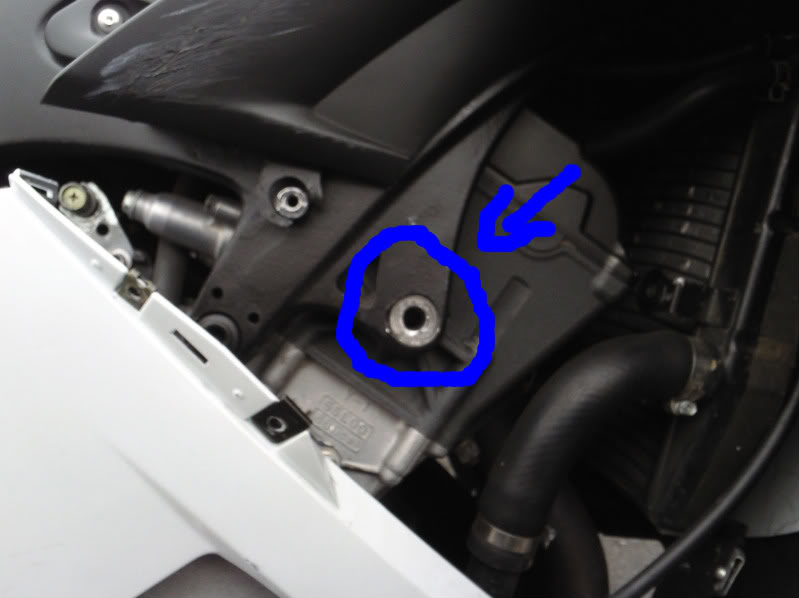
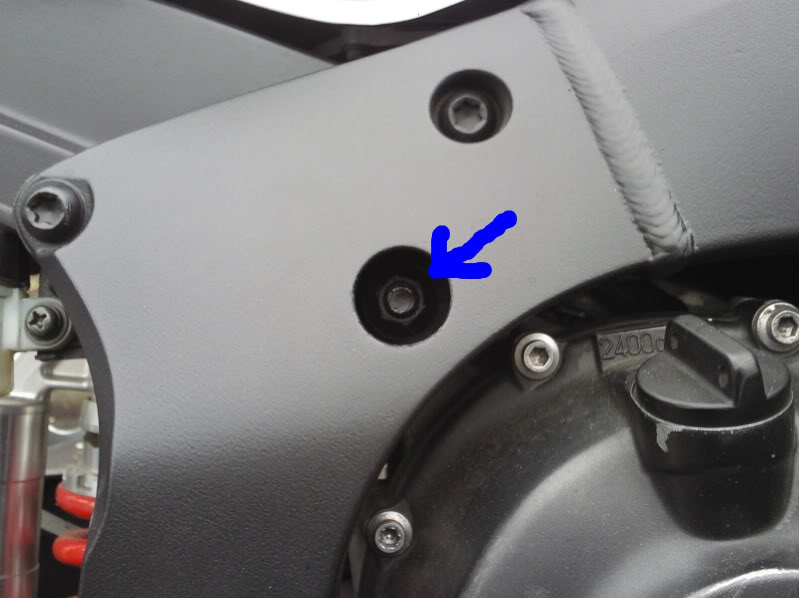
4) Next your going to have to take off this nut. Its probably locktited on so your going to have to break the locktite. This can be done by holding the bolt still on the left side while you try to loosen the nut on the right side.
Pic of nut on right side
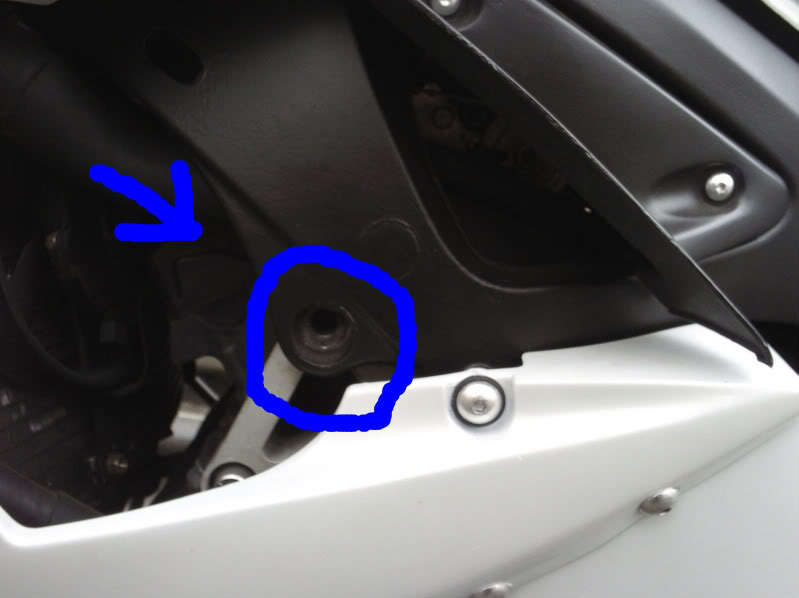
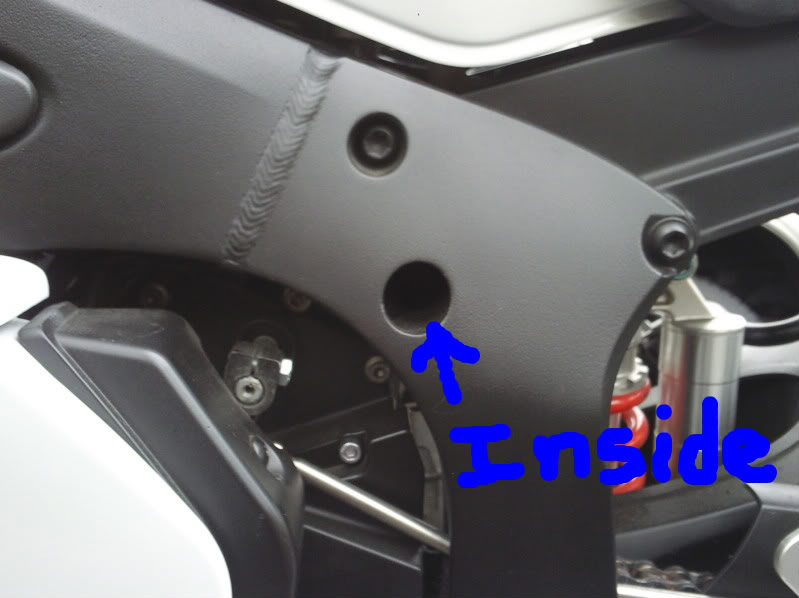
Pic of where the bolt/rod is on left side
5) The hard part for me was figuring out that the dam nut in the frame was spinning the whole rod . After you take off the nut you can push out the bolt/rod with the round rod you got in the box and might as well keep it in there.
6) Put the bolt for the motor mount through the whole in the cage and put the cage on to the bike letting the cage rest on the rod and the bolt in the motor mount. Put the nut on washer on the rod and hand tighten and then you can use the ratchet to lightly tighten the bolt for the motor mount.
7) At this point you can put the rod in for the bottom part of the cage. this rod should fit through the whole in the fairings. You might need to push the fairing up a little so that the rod can get through. make sure you put the nut and washer on and hand tighten
8) do the same on the other side. Make sure everything lines up at every point of connection. Both rods and motor mount should all be lined up and lightly tightened. If all is lined up nice go ahead and start tightening all areas. I slowly tightened each spot going in a clockwise manner until all were as tight as i could get them.
9) Last but not least put the sliders in the cage and line up the hole in the slider with the hole in the cage. Use the bolt and washer that came with the sliders and tighten those up.
10) Your finished go out and test um out!!
It took about 15min. to set up for me. The bolts are weird im not sure why but the 3" did not work on the left and the 5" are way to long, the 4" woked perfectly on the left.
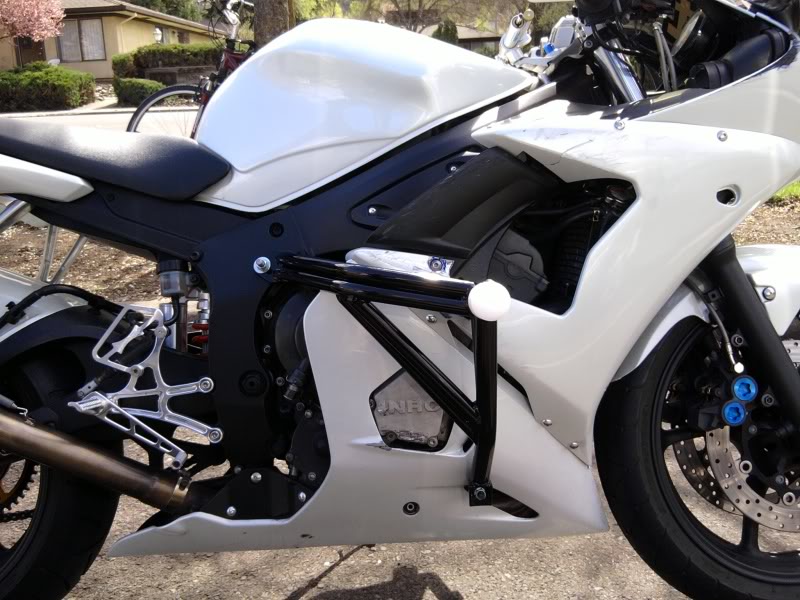
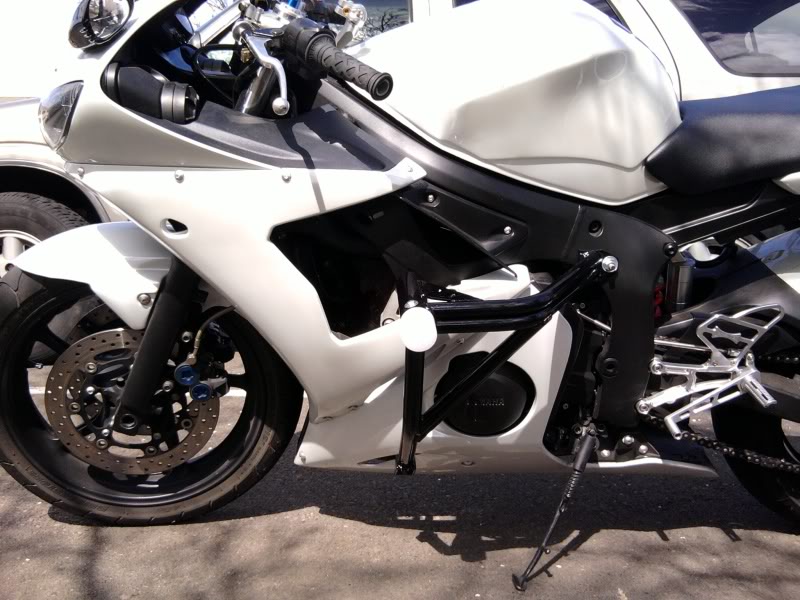
Should look like this when its done!!

Parts:
-2 rods 1 round and 1 square (both w/ nuts and washers)
-2 sliders
-2 cages
-2 bolts (the ones you get with box are like 5", the ones in the pics are 3" used on right side, i also used a 4" bolt on the left side)
Tools:
-ratchet w/sockets
-extender for ratchet at least 6"
-allen wrenches
1) Take off the right side fairing, the left side does not need to be removed
2) Take out the bolt (right side)
3) Take out the bolt (left side)
4) Next your going to have to take off this nut. Its probably locktited on so your going to have to break the locktite. This can be done by holding the bolt still on the left side while you try to loosen the nut on the right side.
Pic of nut on right side
Pic of where the bolt/rod is on left side
5) The hard part for me was figuring out that the dam nut in the frame was spinning the whole rod
. After you take off the nut you can push out the bolt/rod with the round rod you got in the box and might as well keep it in there. 6) Put the bolt for the motor mount through the whole in the cage and put the cage on to the bike letting the cage rest on the rod and the bolt in the motor mount. Put the nut on washer on the rod and hand tighten and then you can use the ratchet to lightly tighten the bolt for the motor mount.
7) At this point you can put the rod in for the bottom part of the cage. this rod should fit through the whole in the fairings. You might need to push the fairing up a little so that the rod can get through. make sure you put the nut and washer on and hand tighten
8) do the same on the other side. Make sure everything lines up at every point of connection. Both rods and motor mount should all be lined up and lightly tightened. If all is lined up nice go ahead and start tightening all areas. I slowly tightened each spot going in a clockwise manner until all were as tight as i could get them.
9) Last but not least put the sliders in the cage and line up the hole in the slider with the hole in the cage. Use the bolt and washer that came with the sliders and tighten those up.
10) Your finished go out and test um out!!
It took about 15min. to set up for me. The bolts are weird im not sure why but the 3" did not work on the left and the 5" are way to long, the 4" woked perfectly on the left.
Should look like this when its done!!

Thread
Thread Starter
Forum
Replies
Last Post
f4i knight
Bikes for Sale
7
Feb 26, 2013 03:06 PM
01SSNBM
Bike Parts for Sale
5
Feb 18, 2013 08:14 PM
crew72
Bike Parts for Sale
2
Dec 27, 2012 01:44 PM

